Agree what the repaint must achieve
A useful villa painting brief starts with the existing surfaces and the rooms’ everyday use, then records the finish to be approved. Colour alone cannot define a comparable quotation. Two proposals may describe the same shade while allowing very different preparation, protection and making-good work. Before asking for a price, identify which walls, ceilings and other surfaces are included, what will remain untouched, and how the household will use the property during the work. Give the painter a chance to inspect the villa rather than treating photographs as a complete survey. This article concerns planning interior repainting; exterior systems need their own assessment.
Separate decoration from unexplained defects
Make a room-by-room condition list with photographs and locations. Record visible staining, cracks, peeling areas, previous repairs and places hidden behind furniture without trying to diagnose them yourself. Ask the relevant professional which issues can be included in decorative preparation and which need separate investigation. A repaint should not be used as evidence that an unexplained moisture issue or recurring crack has been resolved. Request a clear written boundary between the painter’s scope and any repair package. If the assessment is incomplete, keep that area provisional and identify who will close the question before the final finish is approved.
Define the surfaces, not just the room names
“Paint the living room” leaves too much open to interpretation. List walls, ceiling, recesses, bulkheads, doors, skirtings and fitted furniture separately, indicating whether each is included or excluded. Different substrates may call for different professional specifications, so avoid assuming one product will cover everything. Note where existing joinery, stone and glazing must be protected. Record whether furniture is staying in the room, being moved by the owner or handled under the contract. This detail also helps distinguish a whole-room repaint from a limited repair. Use the same room names on the photographs, quotation and sample record so an approval cannot easily be assigned to the wrong space.
Choose samples in the actual setting
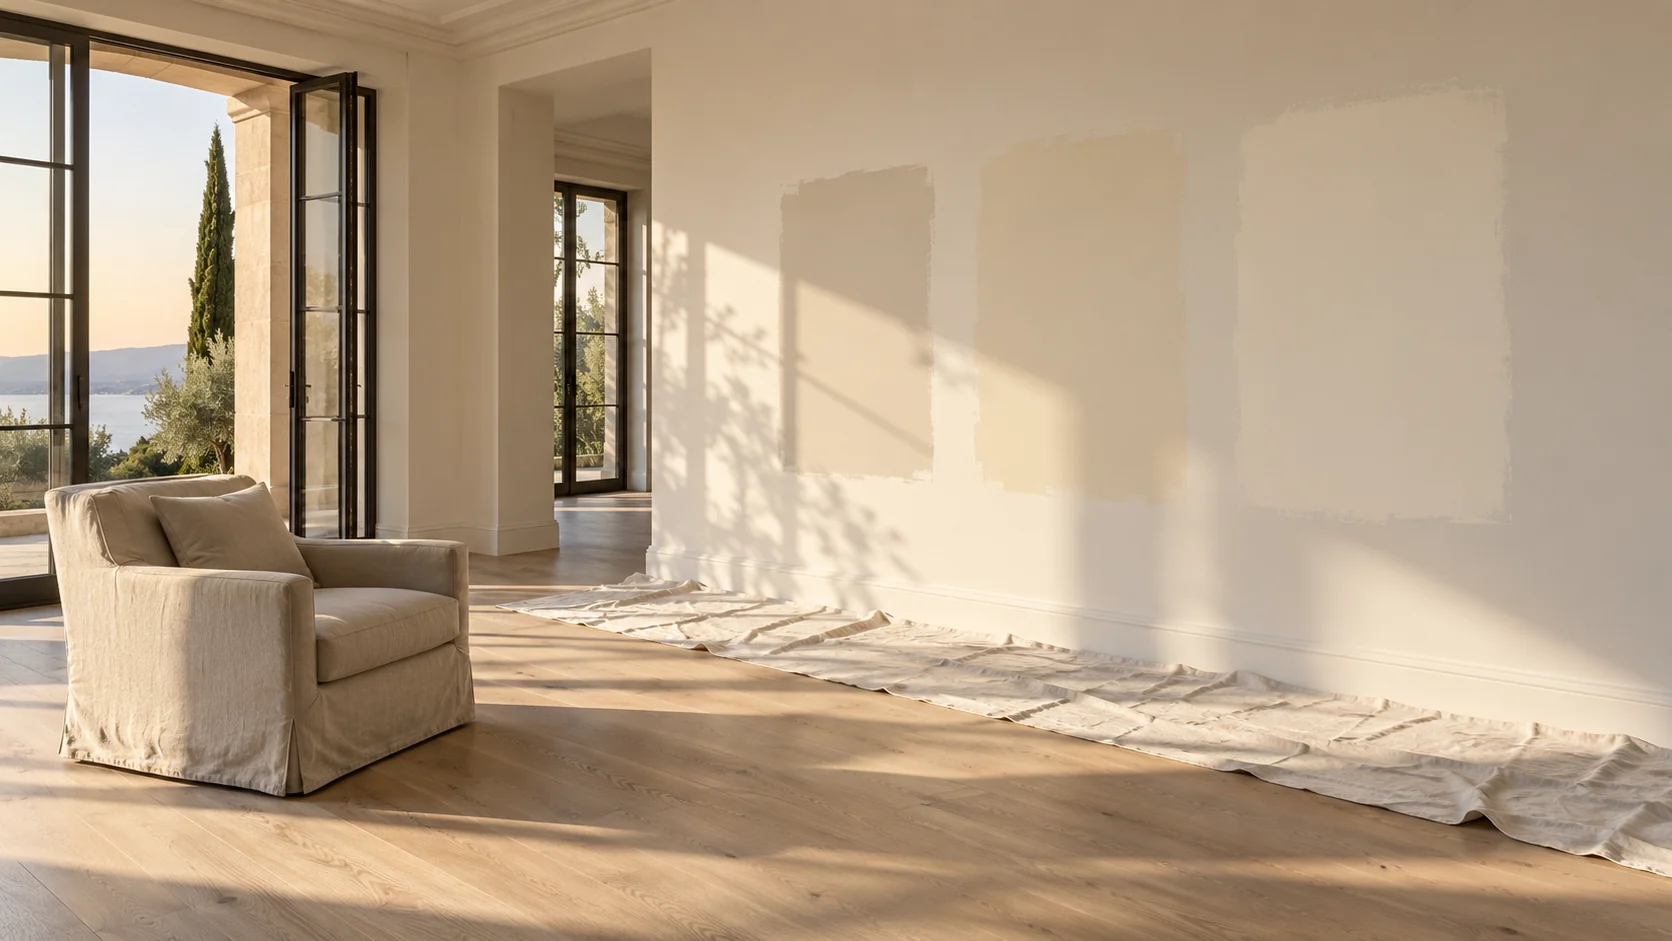
Jotun’s Middle East colour guidance recommends physical samples because lighting, surrounding materials, finish and substrate can affect how a colour appears. Use that principle to organise a small, deliberate sample review rather than choosing from a screen alone. Ask the painter to identify each proposed product, shade and finish on the sample record. Review the agreed sample locations with the room’s flooring, curtains and joinery in view, at the times when the household normally uses the space. Photograph the decision for reference, but keep the physical approval as the appearance reference. A phone photograph can help locate a sample; it should not become the sole colour standard.
Compare finishes through household priorities
Describe the room’s use before asking for a finish recommendation. A quiet guest bedroom, a busy family corridor and a dining area beside an active kitchen may have different maintenance priorities. Ask the supplier to explain the chosen product’s stated care requirements and suitability for the substrate and intended location. Request the current product data rather than assuming that words such as washable or durable mean the same thing across ranges. Balance the preferred visual effect with the owner’s tolerance for visible marks and cleaning routines. Do not promise a stain-proof wall or a fixed service life: product selection, preparation, use and maintenance all require project-specific consideration.
Planning example: a family lounge and connecting corridor
Imagine a villa owner who wants the lounge and corridor to read as one calm warm-white space. The lounge has afternoon sun and walnut furniture; the corridor has less daylight and frequent contact around the entrance. The brief uses the same colour family as a starting point, but asks the painter to propose suitable finishes for each location. Samples are reviewed beside the actual joinery and under the lighting used in the evening. A stain near one opening is listed as an unresolved condition requiring assessment before decoration. The owner approves an appearance reference only after seeing both spaces. The quotation then separates investigation or repair allowances, preparation, painting and furniture protection. This is a planning example, not a completed project or a claim that one product suits every surface.
Plan occupied rooms as separate handovers
If the household remains in residence, agree which spaces can be released to the contractor and which routes must stay usable. Ask for product-specific guidance on ventilation, drying and reoccupation from the responsible professional; do not base occupancy decisions on a generic promise that paint will be dry by evening. Identify furniture moves, dust protection, access restrictions and the point at which each room is returned to normal use. Coordinate painting with joinery, lighting and other work that might mark a finished wall. The room sequence should follow the actual works and product requirements, with changes communicated before furniture is moved.
Checklist for comparing painting proposals
Ask each bidder to respond to the same scope and sample references. A proposal becomes more useful when it explains its assumptions and exclusions instead of relying on a single total. Where access or hidden conditions prevent a firm scope, ask how discoveries will be documented and priced before additional work proceeds.
- List every included surface and the intended product, colour and finish.
- Describe assessed preparation and identify unresolved defects separately.
- State who moves and reinstates furniture, curtains and removable fittings.
- Confirm protection, cleaning and disposal responsibilities.
- Identify the sample approval and how changes will be recorded.
- Set room access and handover arrangements appropriate to the selected products.
- Clarify exclusions, repair allowances and the process for additional work.
Agree how the finished work will be reviewed
Before work begins, agree the reference sample and how the owner and contractor will inspect the rooms together. Record areas needing attention by location, with photographs and a responsible person, so a vague request to “touch up everything” does not replace a clear list. Ask what product details and maintenance guidance will be provided at handover, and how any retained touch-up material will be identified. A successful planning discussion ends with a scope that the household understands, a professional assessment of the surfaces and a documented finish choice. Bring a room list and photographs to the initial enquiry, while allowing the site visit to determine what the painting package can responsibly include.
Sources & further reading
Make this useful for your project.
A review of your property and priorities can turn general guidance into a defined brief.
Explore our servicesDiscuss your project